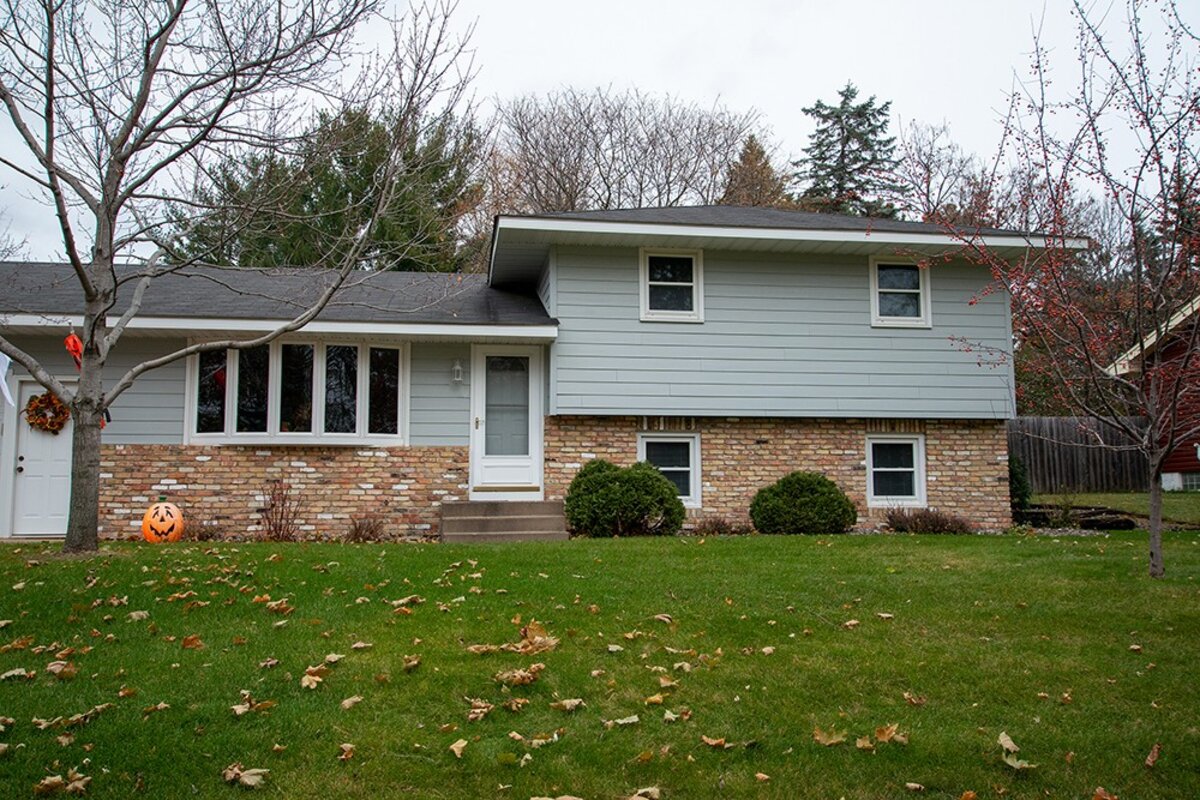
Fiber-cement siding is renowned for its robustness and visual charm, making it an excellent choice for home exteriors. This guide will provide clear instructions on how to cut and install fiber-cement siding, covering essential techniques and considerations to ensure your home improvement project is successful.
Tools Needed for Installing Fiber-Cement Siding
Before beginning the installation of fiber-cement siding, it is crucial to gather all necessary tools and materials. Having the right equipment at hand not only facilitates a smoother workflow but also ensures safety and precision throughout the project. Here is a detailed list of the essential tools and materials you will need:
- Circular Saw with a Diamond-Tipped Blade: Essential for making clean, precise cuts.
- Dust Reduction System: To minimize exposure to silica dust, which can be harmful.
- Tape Measure and Chalk Line: For accurate measuring and marking of the siding.
- Level: To ensure the siding pieces are evenly applied.
- Caulk Gun: For applying caulk to seams to prevent water ingress.
- Stainless Steel Nails: Durable and rust-resistant, perfect for securing siding.
- Primer and Paint: Specifically designed for fiber-cement siding to provide a protective finish.
Detailed Installation Steps
- Prepare the Work Area: Clear the vicinity where you’ll be working. Lay down tarps to collect debris and set up your cutting station outdoors to manage dust.
- Measuring and Marking: Accurately measure and mark where cuts will be made on the siding using a tape measure and chalk line. Always double-check measurements to ensure accuracy.
- Cutting the Siding: Using a circular saw fitted with a diamond-tipped blade is ideal for making precise cuts. Ensure you have a dust reduction system in place to minimize exposure to silica dust.
- Applying the Siding: Start at the bottom of your house and work upwards. Overlap each piece to prevent water ingress, using a level to ensure each piece is straight.
- Securing the Siding: Fasten the siding using stainless steel nails, making sure to nail into the studs. Caulk the joints to seal any gaps, enhancing the waterproofing of your home.
- Finishing Touches: Once all the siding is installed, apply a primer and paint suitable for fiber-cement to protect the siding from weather elements and to achieve your desired aesthetic.
Why Contact Craftsman’s Choice?
While the DIY approach is achievable, the precision, skills, and tools required can make fiber-cement siding installation daunting. Craftsman’s Choice provides professional installation with attention to detail, adherence to safety standards, and customization that meets specific homeowner needs. Opting for professional help can ensure that your siding is installed correctly and lasts for many years.
In Summary
Installing fiber-cement siding is a valuable investment in your home’s durability and aesthetic. This guide offers a foundation on how to cut and install fiber-cement siding, but for those looking for impeccable results and peace of mind, professional installation by Craftsman’s Choice is recommended. With our expertise, you can ensure that the job is done efficiently and to the highest standards, adding long-lasting value to your property.
Contact us for expert advice and professional siding installation services.


